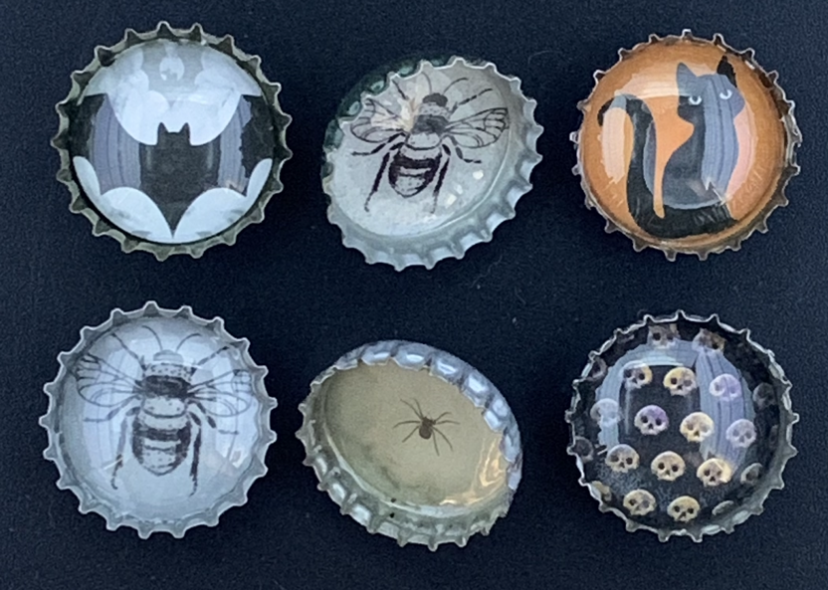
The Bottle Cap Magnets and Pins project I find very fun. I’m also glad to have something to do with all the bottle caps I’ve collected over the years that is eco-friendly. The most difficult part of this process is removing the rubber seal from inside the used bottle cap. You can buy unused bottle caps from the craft store or brew-it-yourself store, however. Those will not have rubber seals in them.
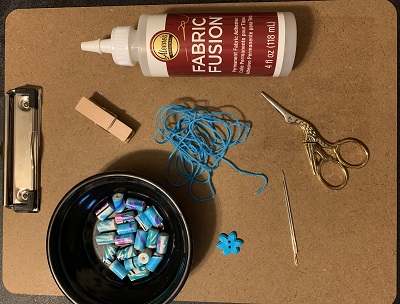
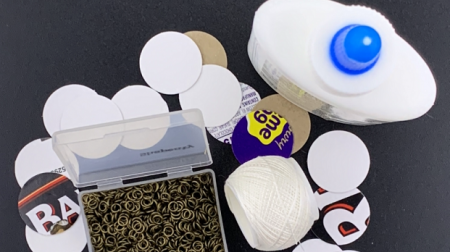
Supplies
- Bottle caps
- Acetone or a stove, pot, tongs, and water
- Towel
- Flat-head screwdriver
- Jewelry pliers
- Cardstock or other decorative paper
- 1-inch hole punch
- 1-inch cabochons
- E6000 Quick Hold
- Judikins Diamond Glaze
- Toothpick
- Paper towel or napkin
- E6000 Craft Adhesive
- Gloves
- Respirator/face protection
- Well-ventilated area
- Small magnet (craft stores or Amazon)
- Pin back (Amazon)
Preparing the Bottle Caps
| NOTE: If you’re using unused bottle caps for this project, you can skip this section. |
Before you can glue your 1-inch paper circle inside your bottle cap, you’ll need to remove the rubber seal inside. I found two methods for starting this process that work equally well.
- You’ll have a much easier time removing the bottle cap cleanly if you first prepare it by either filling it with acetone and letting it sit for at least 10 minutes or by boiling it in water for at least 5 minutes.
- Dump out the acetone or fish out the bottle cap from the boiling pot of water with tongs (depending on the method you chose for step 1) and place it on the towel.
| NOTE: If you chose the boiling water method, you’ll need to work quickly because the bottle cap cools rapidly. |
- Work the flat-head screwdriver around the outside edge of the rubber seal to pull its edges from the bottle cap.
- Continue to work the screwdriver under the center part of the seal.
- When you have about ¼ to ½ of the seal up from the bottle cap, use the jewelry pliers to grab the seal and pull.
- With a few twists of the cap while pulling on the seal with the pliers, you should have the seal removed. This is easier and cleaner for some caps but not all caps.
- If your cap still has some of the seal stuck to it, use the flat-head screwdriver to scrape the remaining seal off the bottle cap.
- When you’ve scraped off all the seal, you can wipe the inside with the towel to remove any shredded bits still there.
Now you have a clean, fresh bottle cap ready to decorate!
Making the Magnets
- Punch a 1-inch circle of your chosen paper with the hole punch.
- Move to a well-ventilated area if you aren’t already in one.
- Put on the gloves and respirator/face protection while working with the E6000 Quick Hold (this is the next step).
- Squeeze some of the Quick Hold into the center of the bottle cap.
- Place the 1-inch paper circle inside the bottle cap on top of the glue. Press down on the paper, starting in the center and working your way to the outside of the paper circle.
- Squeeze some of the Quick Hold onto the flat side of the cabochon.
- Place the cabochon inside the bottle cap on top of the 1-inch paper circle and press down on the center of the cabochon to spread the glue evenly.
- Leave it to dry overnight in the well-ventilated area.
- When it is completely dry, with your gloves and respirator/face protection on and still in the well-ventilated area, squeeze a drop of E6000 Craft Adhesive on the back of the bottle cap at the center.
- Press the magnet against the drop of glue, making sure it remains centered.
- Leave it to dry overnight in the well-ventilated area.
Your magnet is complete and ready to use!
Making the Pins
- Punch a 1-inch circle of your chosen paper with the hole punch.
- Put on the gloves.
- Squeeze enough of the Judikins Diamond Glaze into the bottle cap so that it covers the entire bottom of the cap when the 1-inch paper circle is pressed against it.
- Put the 1-inch paper circle inside the bottle cap on top of the glue and press it into the glue starting from the center and working outward.
- Squeeze more Judikins Diamond Glaze on top of the paper circle and twist and rotate the cap to spread the glaze around the inside of the entire cap.
- When there is enough glaze so that the paper circle is covered, use the toothpick to guide any bubbles to the edge and lift them out of the bottle cap. Then, wipe them on a napkin or paper towel.
- Leave the bottle cap overnight to dry.
- When it is completely dry, move to a well-ventilated area (if not already in one) and put on gloves and a respirator/face protection.
- Squeeze a drop of E6000 Craft Adhesive on the back of the bottle cap at the center.
- Press the pin back against the drop of glue, making sure it remains centered. (I leave the backing off until the E6000 dries to be sure it isn’t glued in place.)
- Leave it to dry overnight in the well-ventilated area.
- When dry, add the pin backing.
Your pin is complete and ready to use!