In this post, I share how I make a paper envelope from a paper cup origami pattern. I use these envelopes for packing up my smaller creations when I sell them. These are easy to make, work up quickly, and are great for calming stress. You can use any size square paper to make these. The larger the square you use, the larger the finished envelope will be. This tutorial uses 6″ x 6″ origami paper sheets.
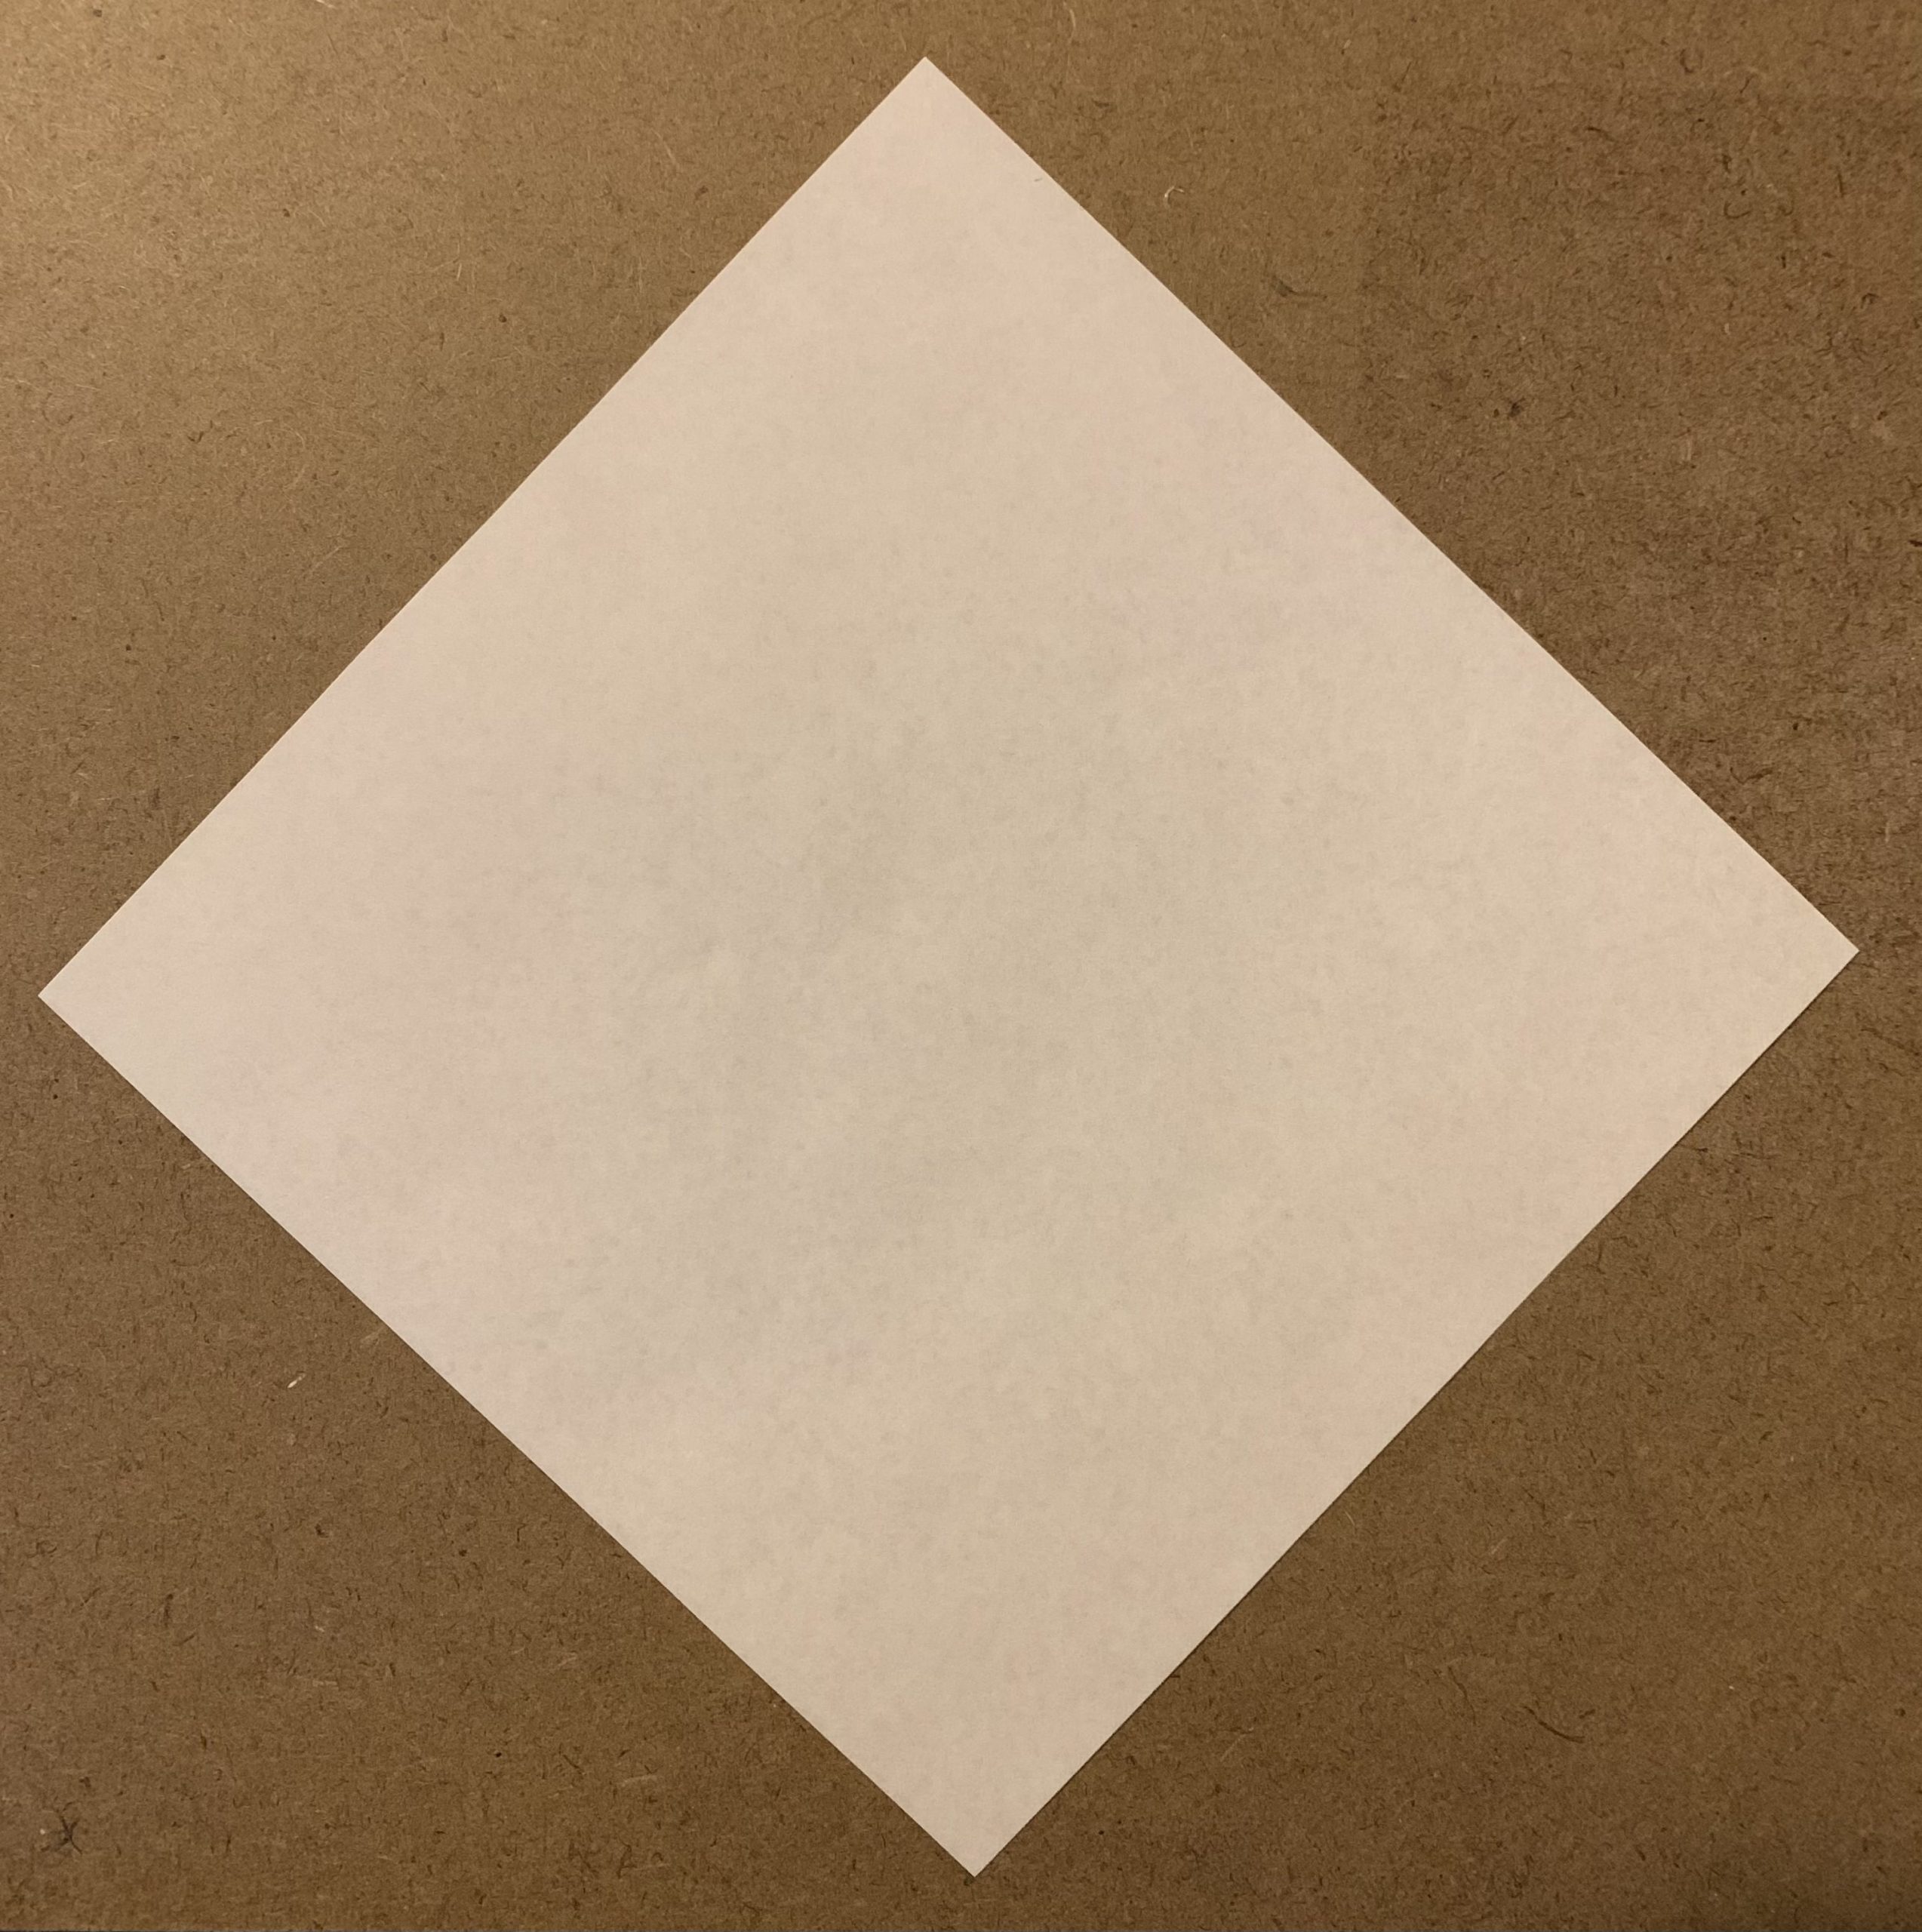
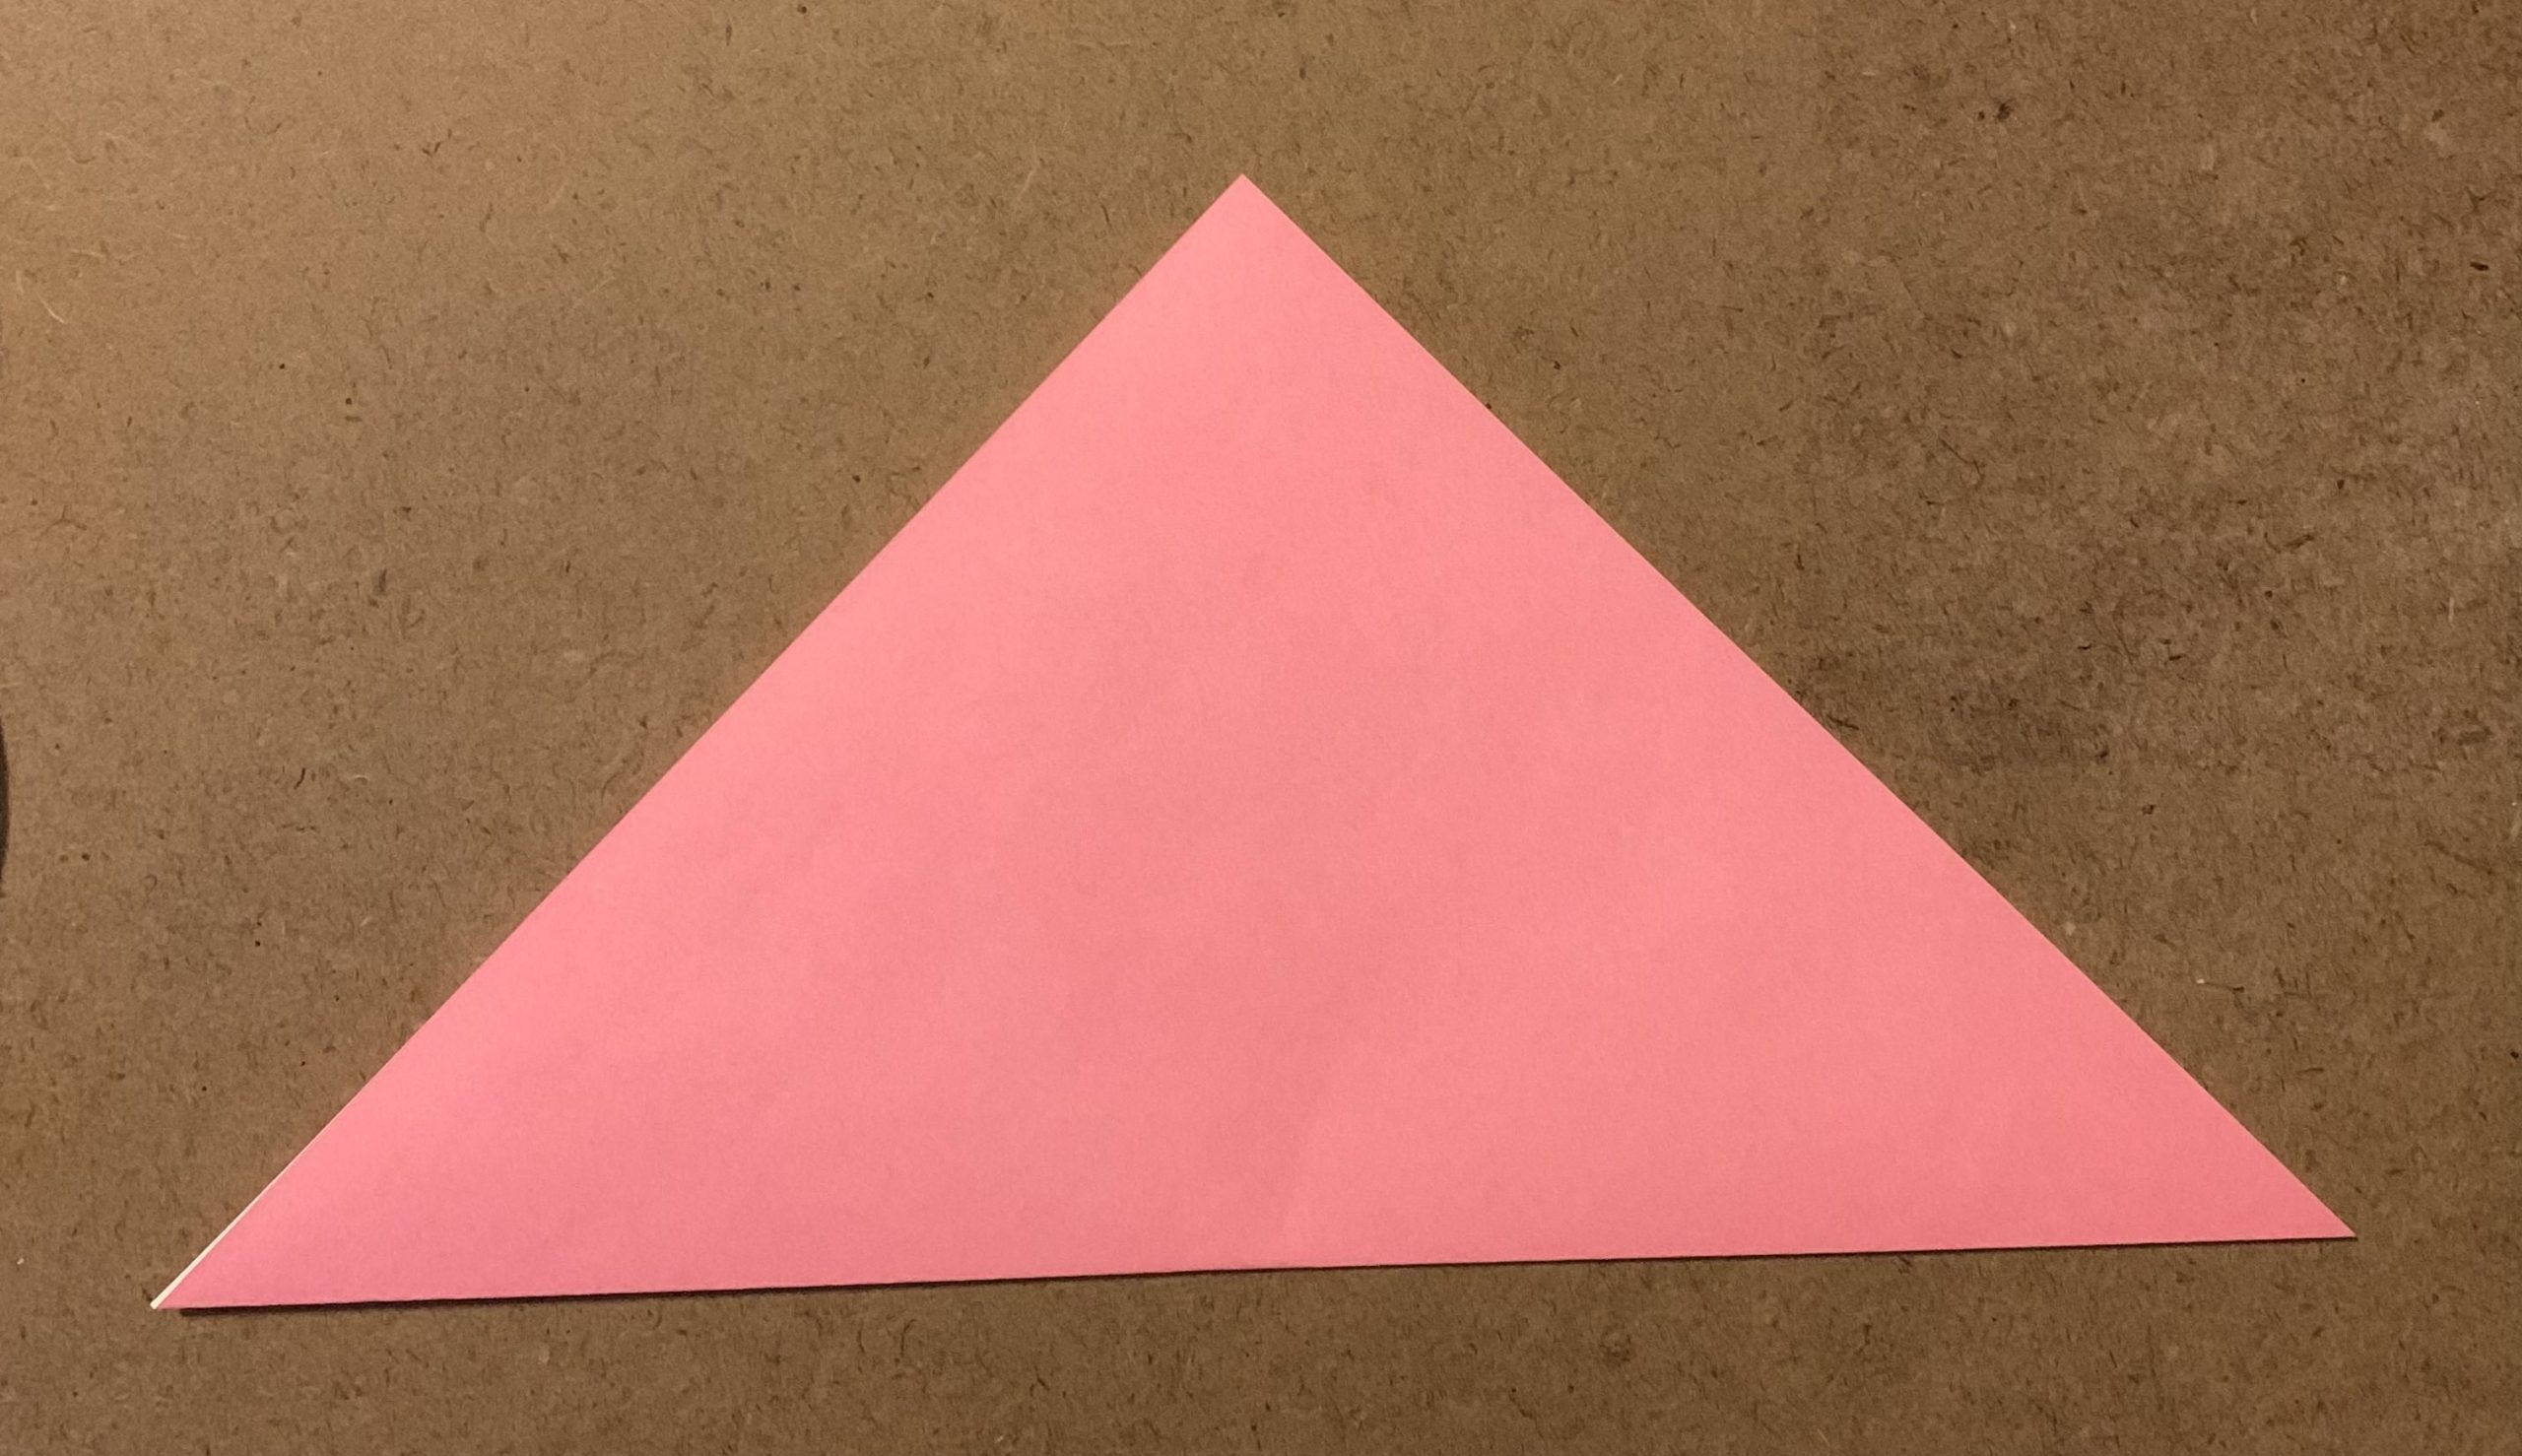
- Place your paper face down on your hard surface in the diamond orientation.
- Fold the sheet in half by bringing the bottom point up to meet the top point.
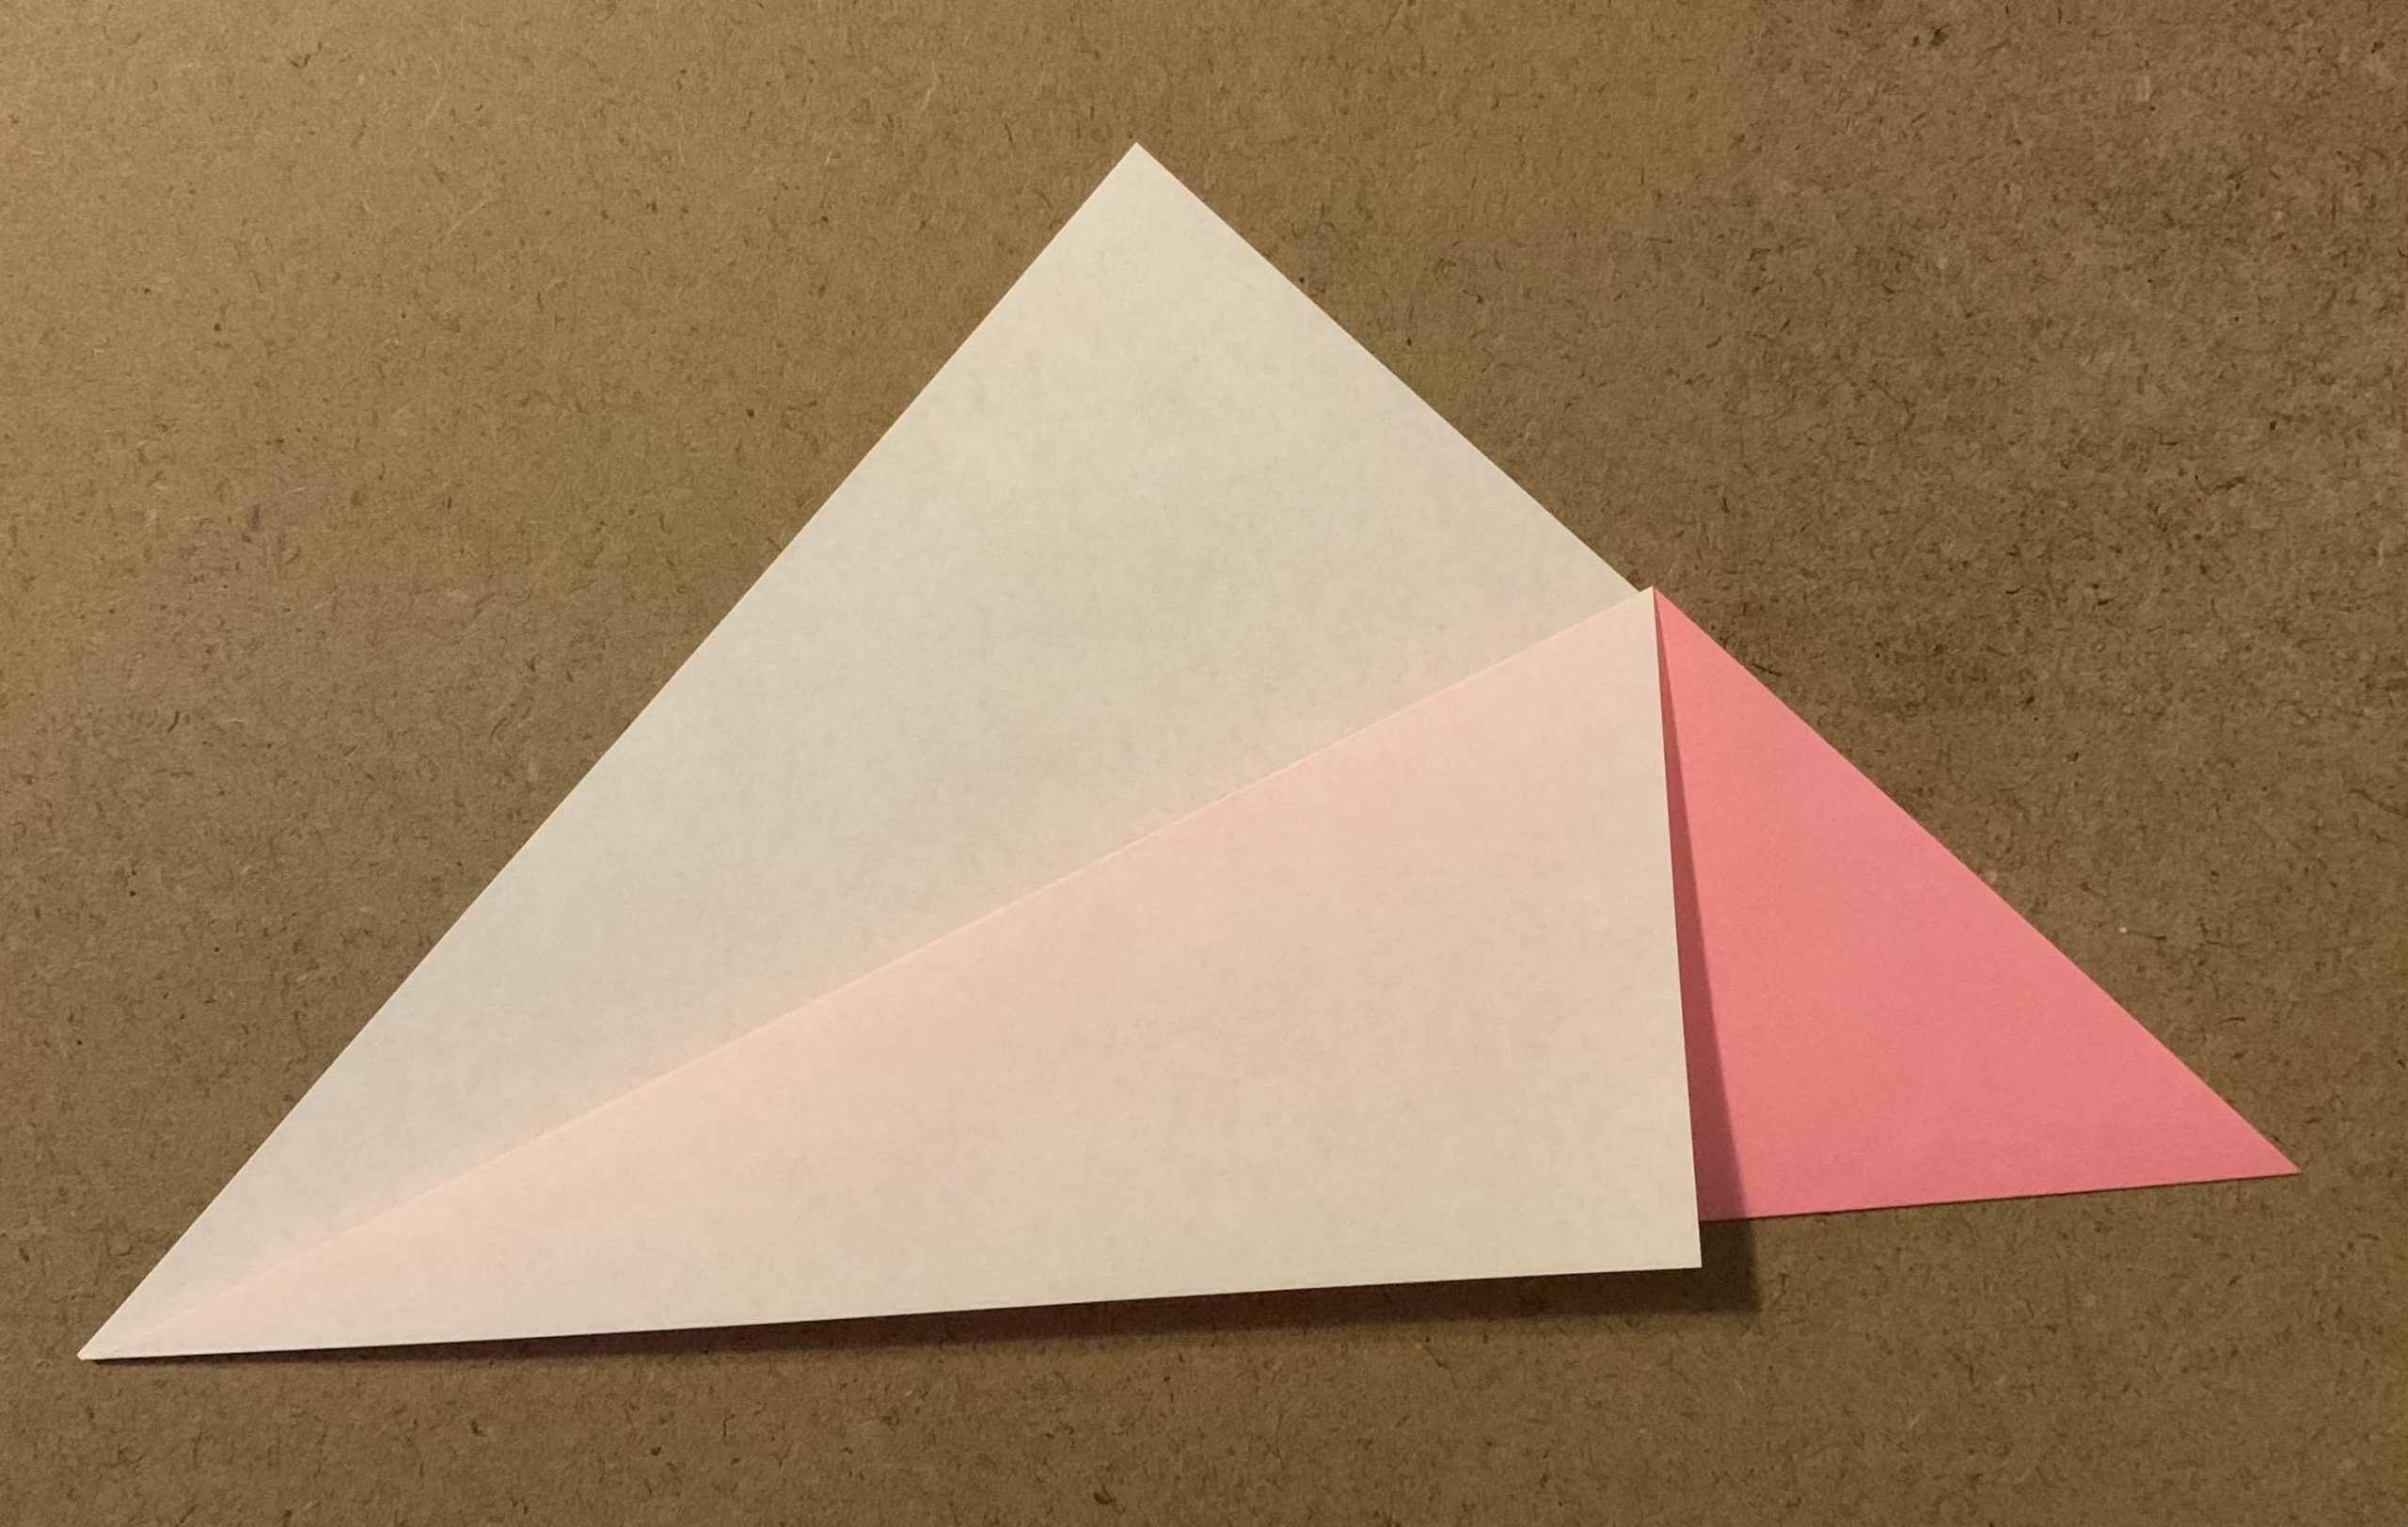
- Take the point from the folded part of sheet and fold it to create a point at the bottom left of the triangle and so that the left edge of the sheet lines up with the bottom of the triangle. Crease along the top of the fold.
- Unfold the top of the triangle to reveal the crease you made.
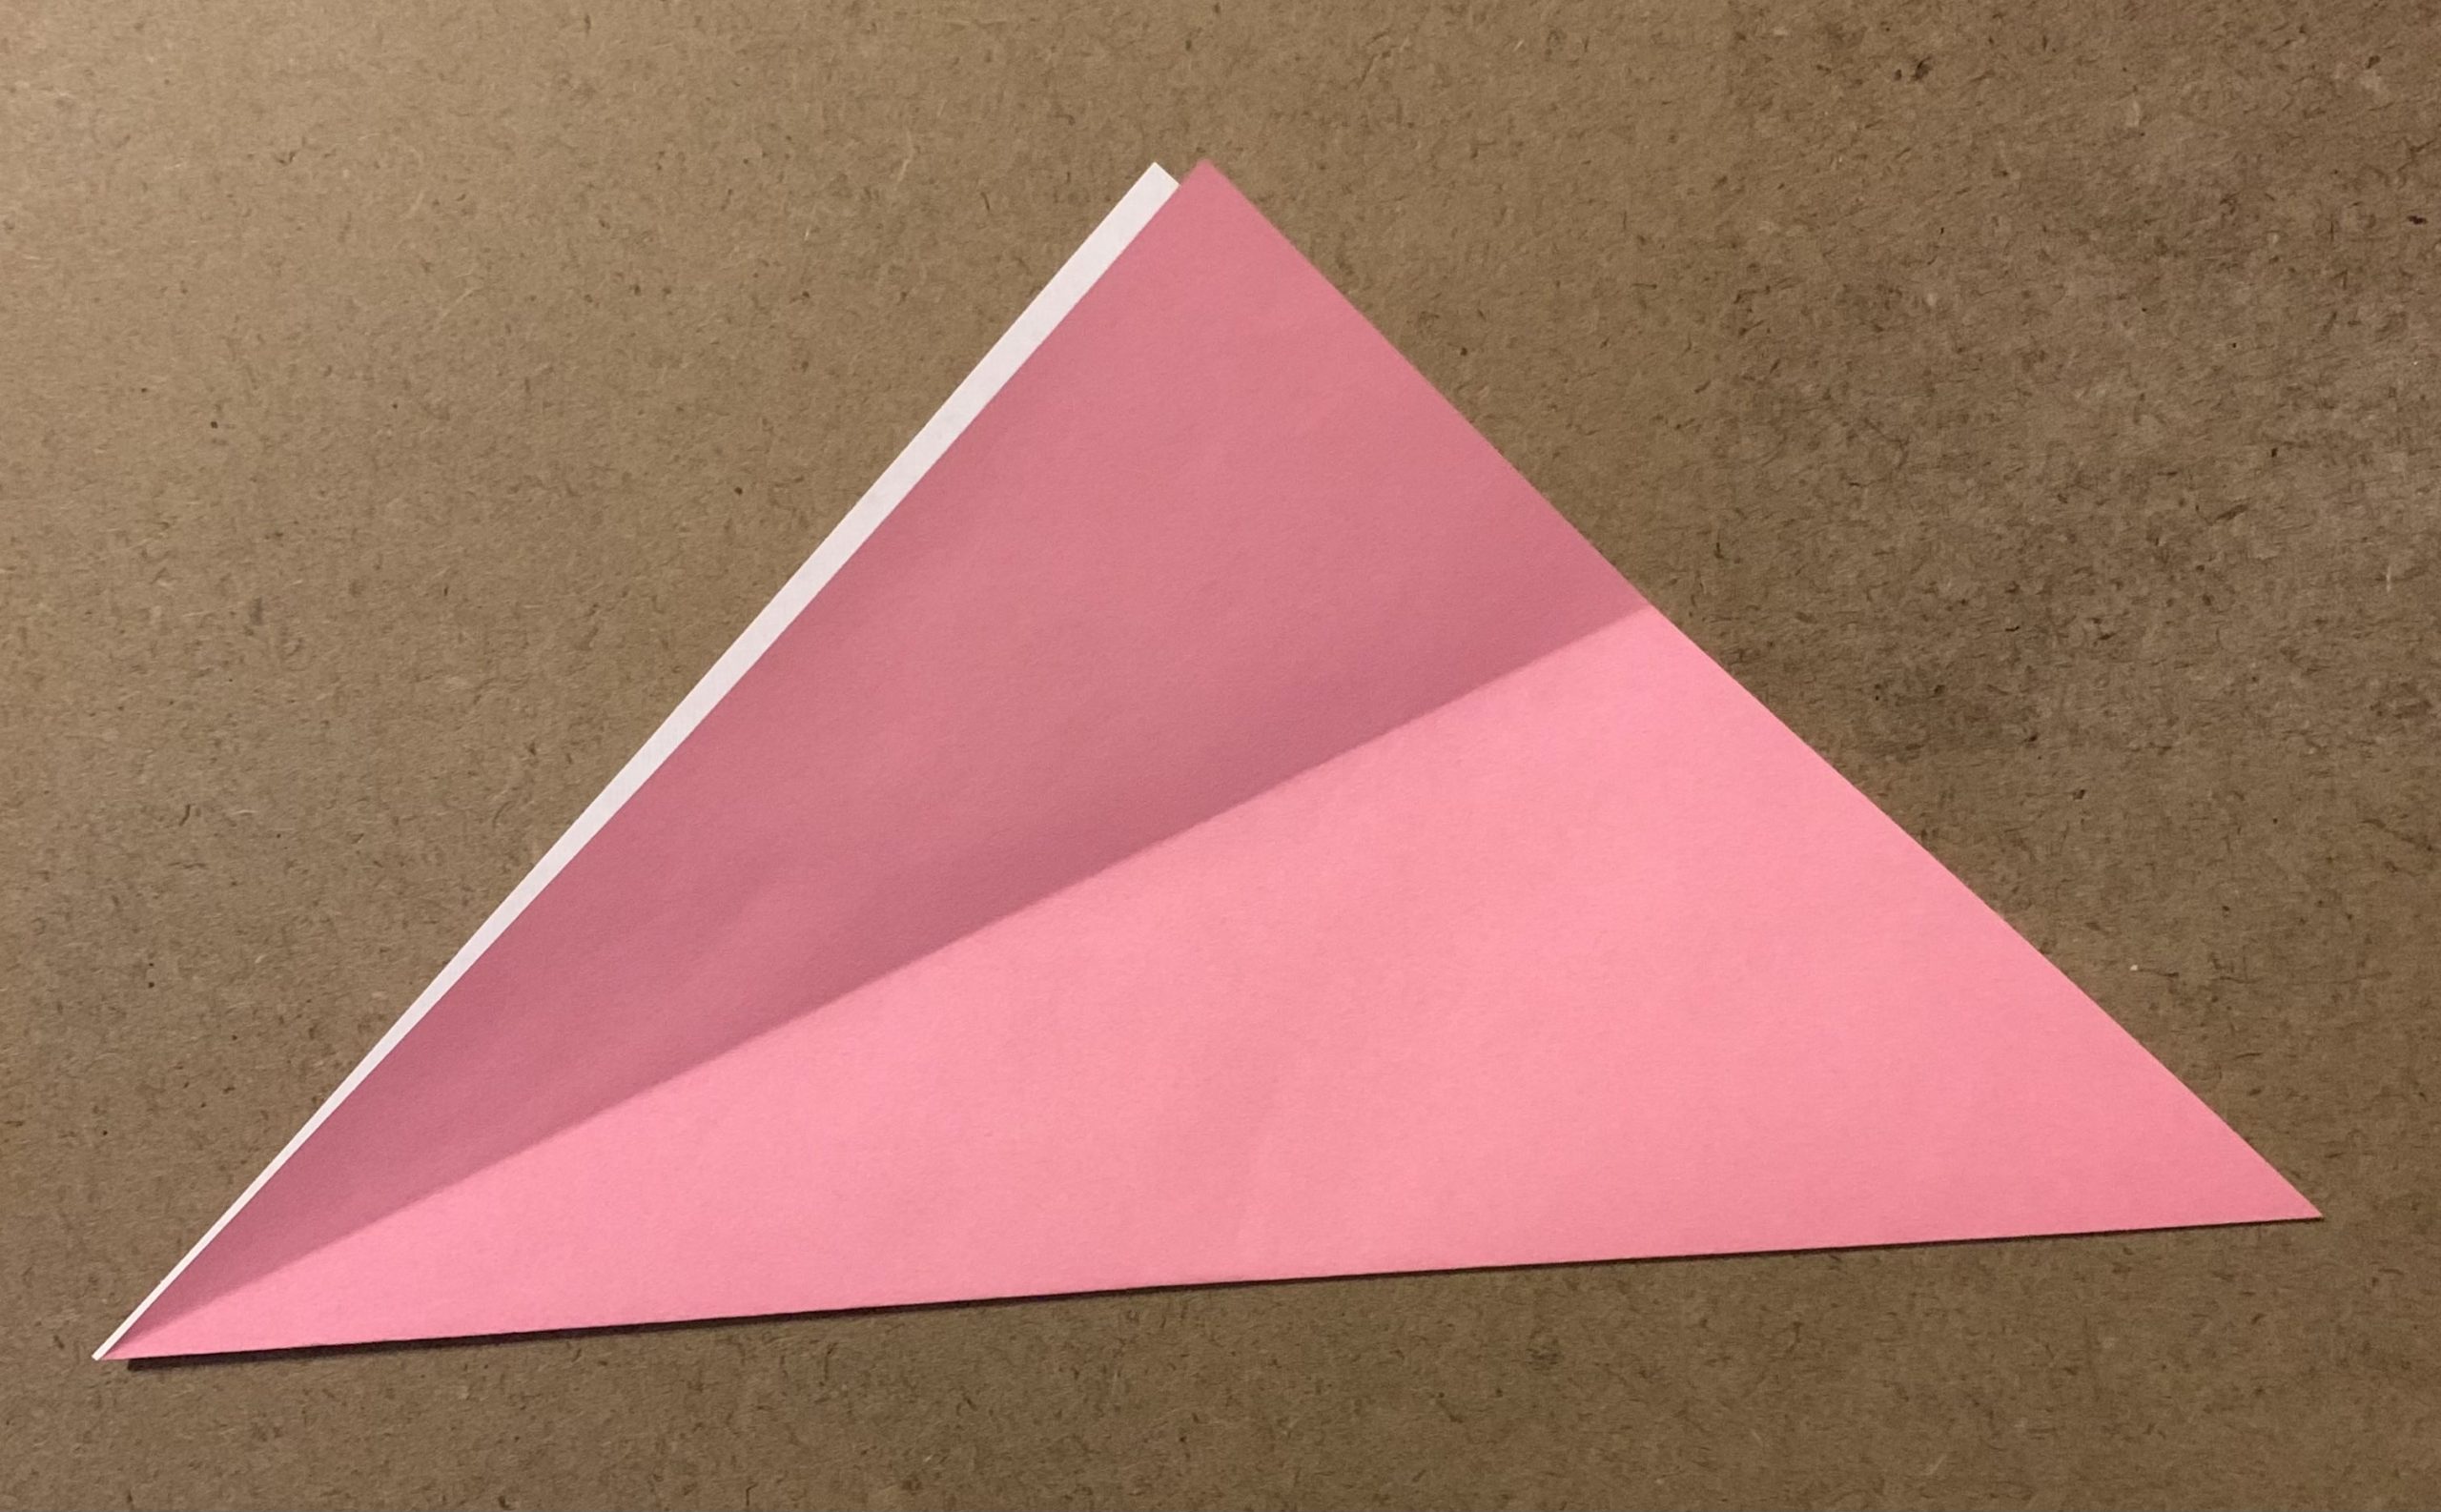
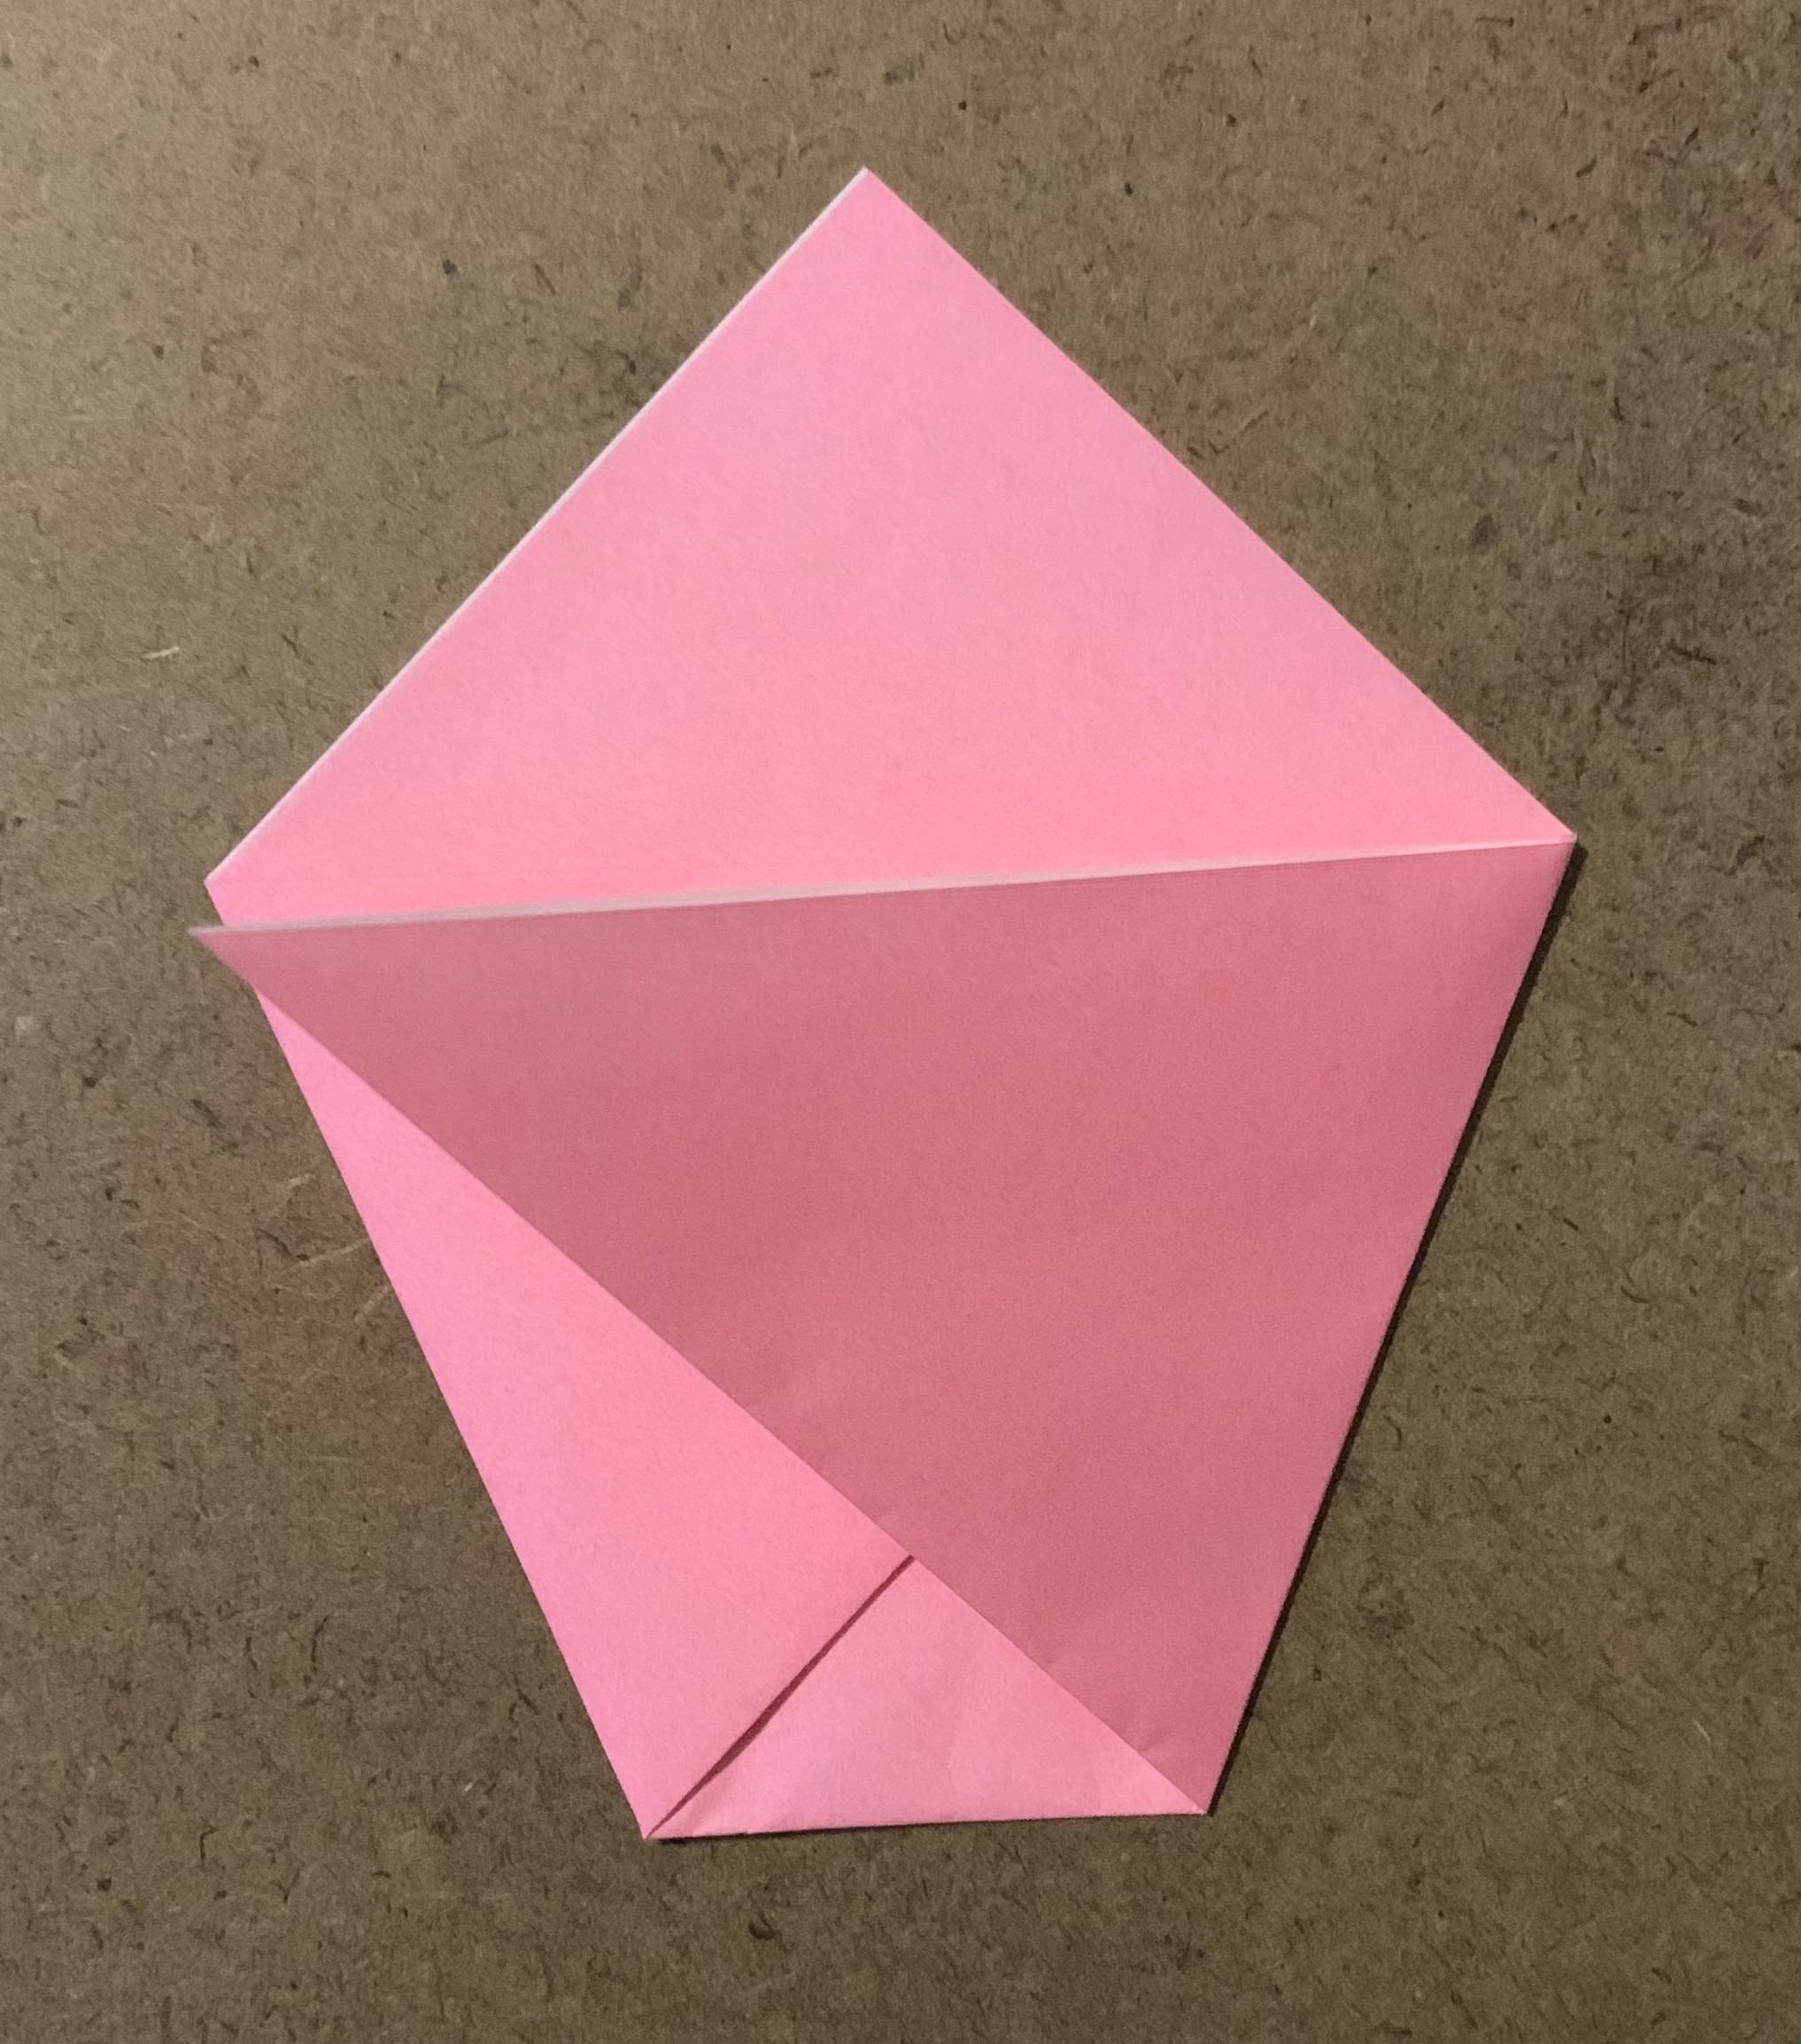
- Take the bottom left point of the triangle and match it up to the end of the crease on the right side of the triangle. Crease along the fold.
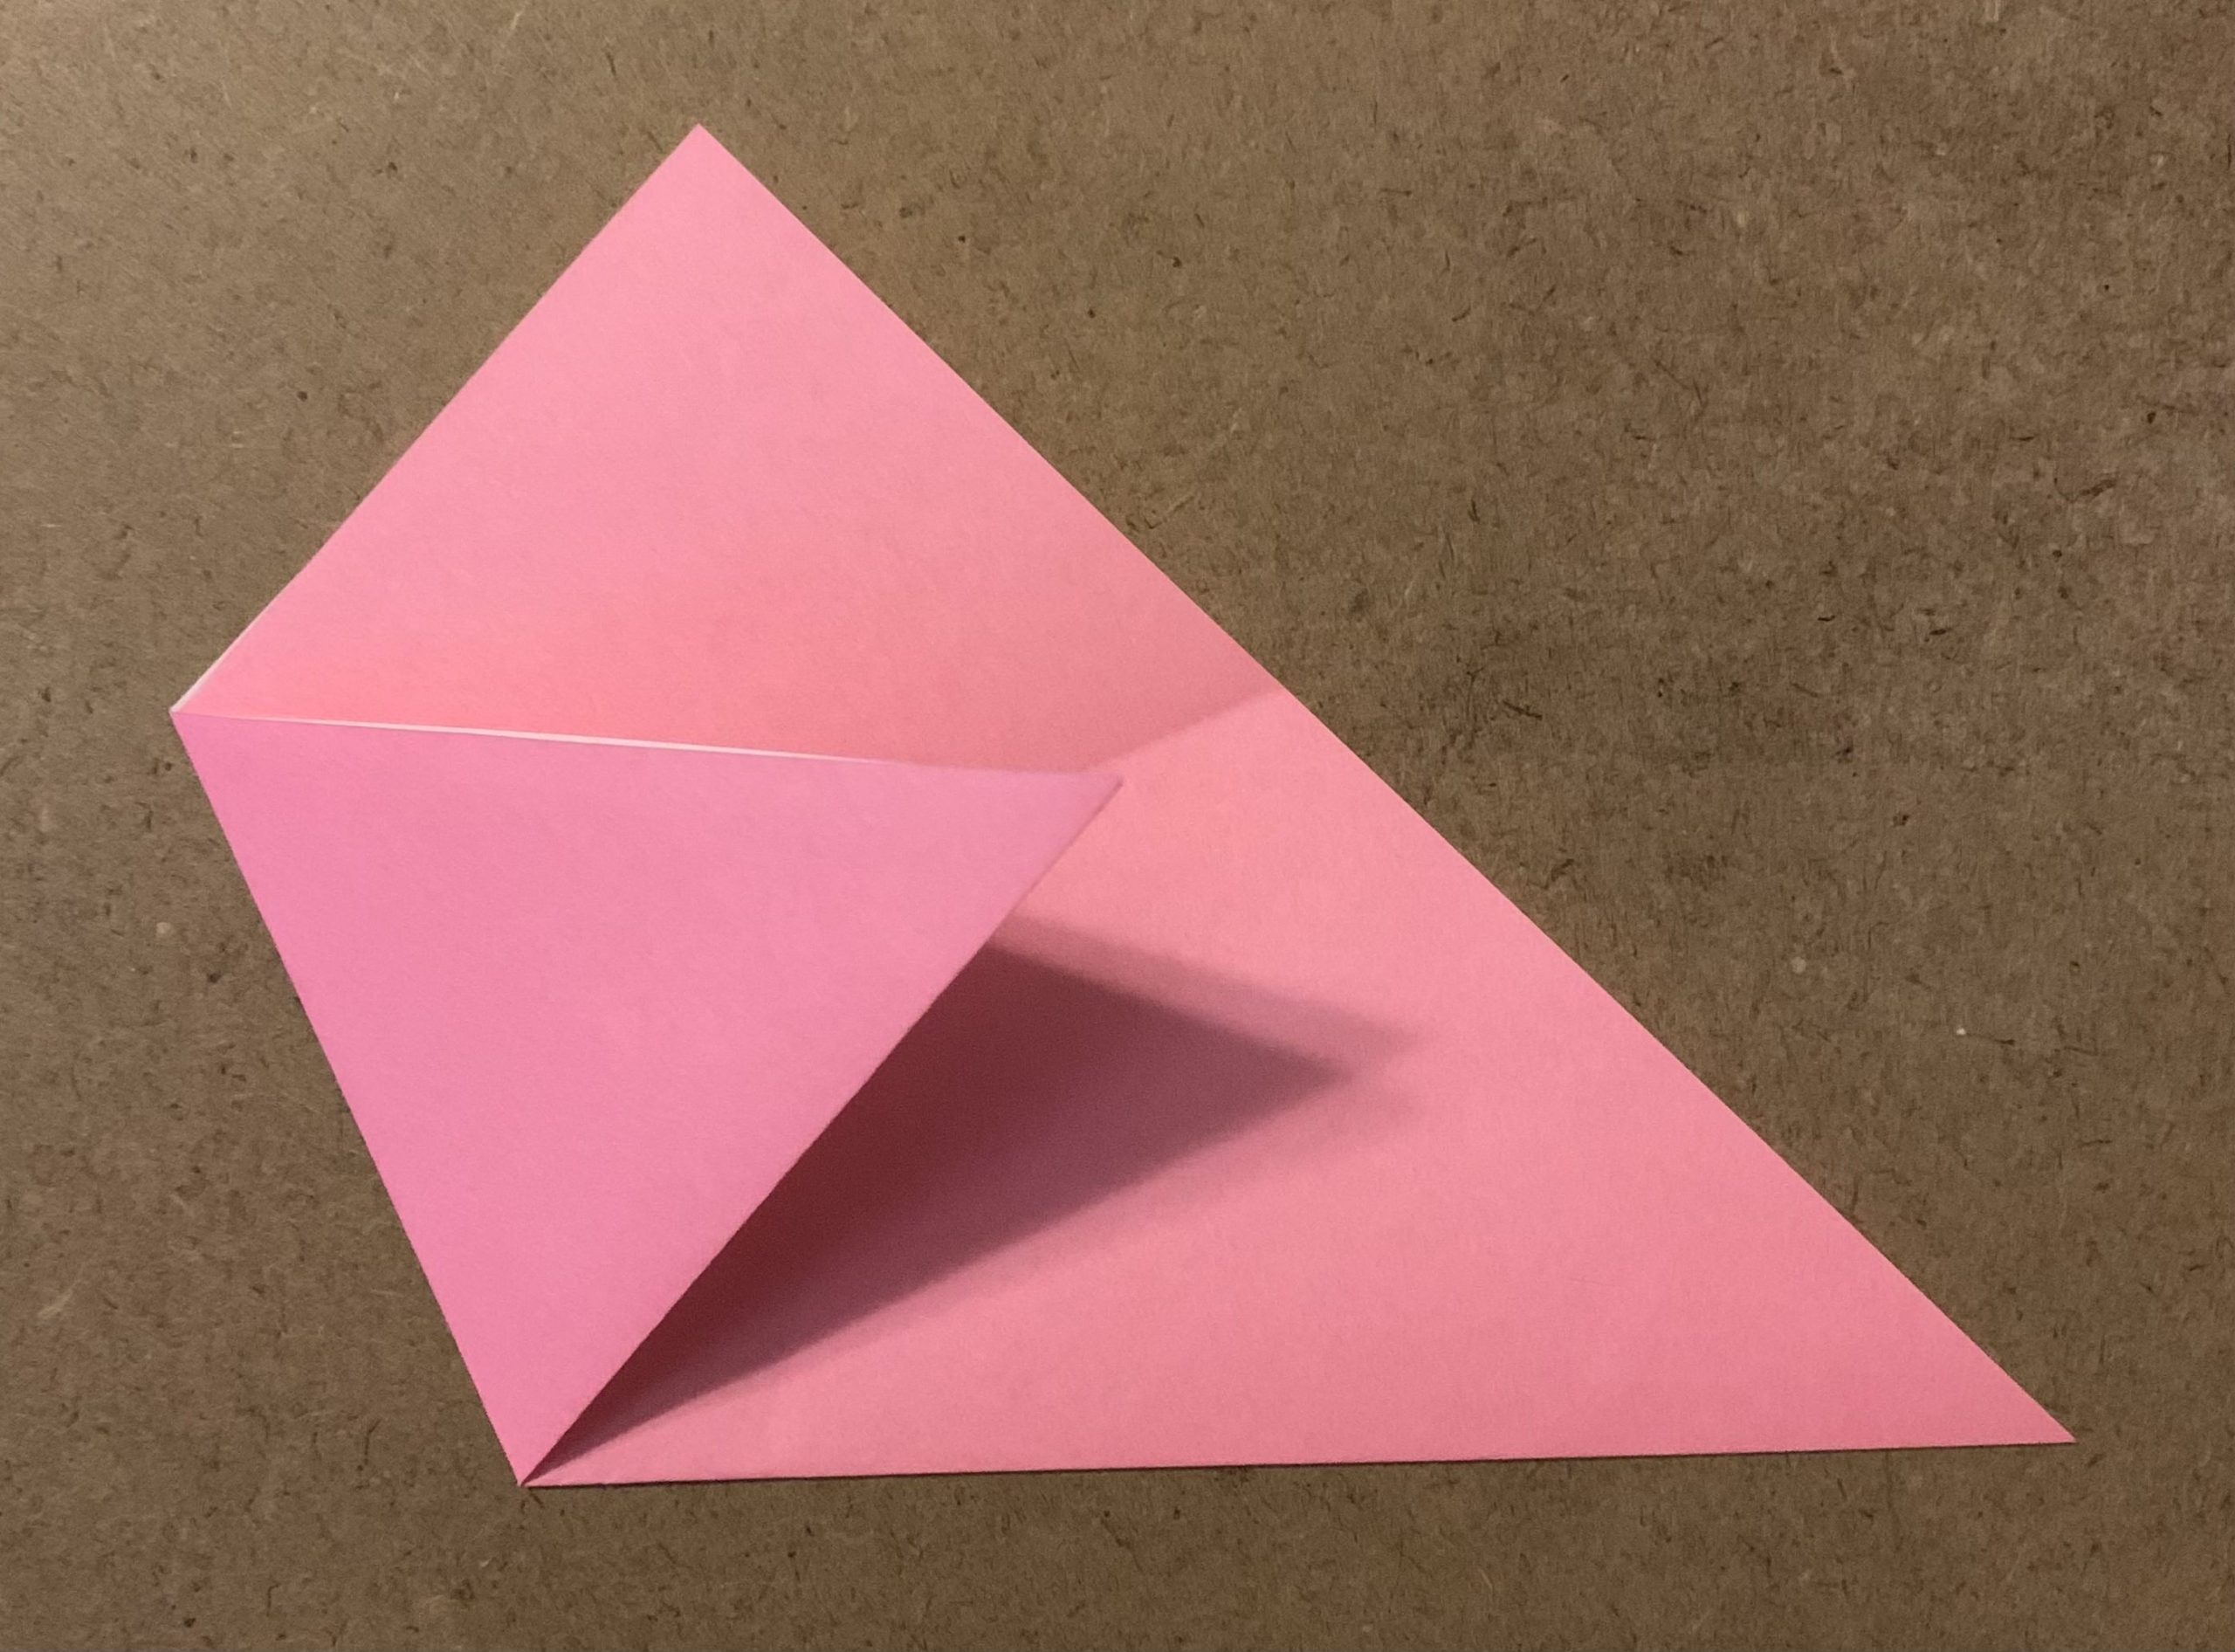
- Take the bottom right point of the triangle and match it up to the top of the fold from the previous step. Crease along the fold.
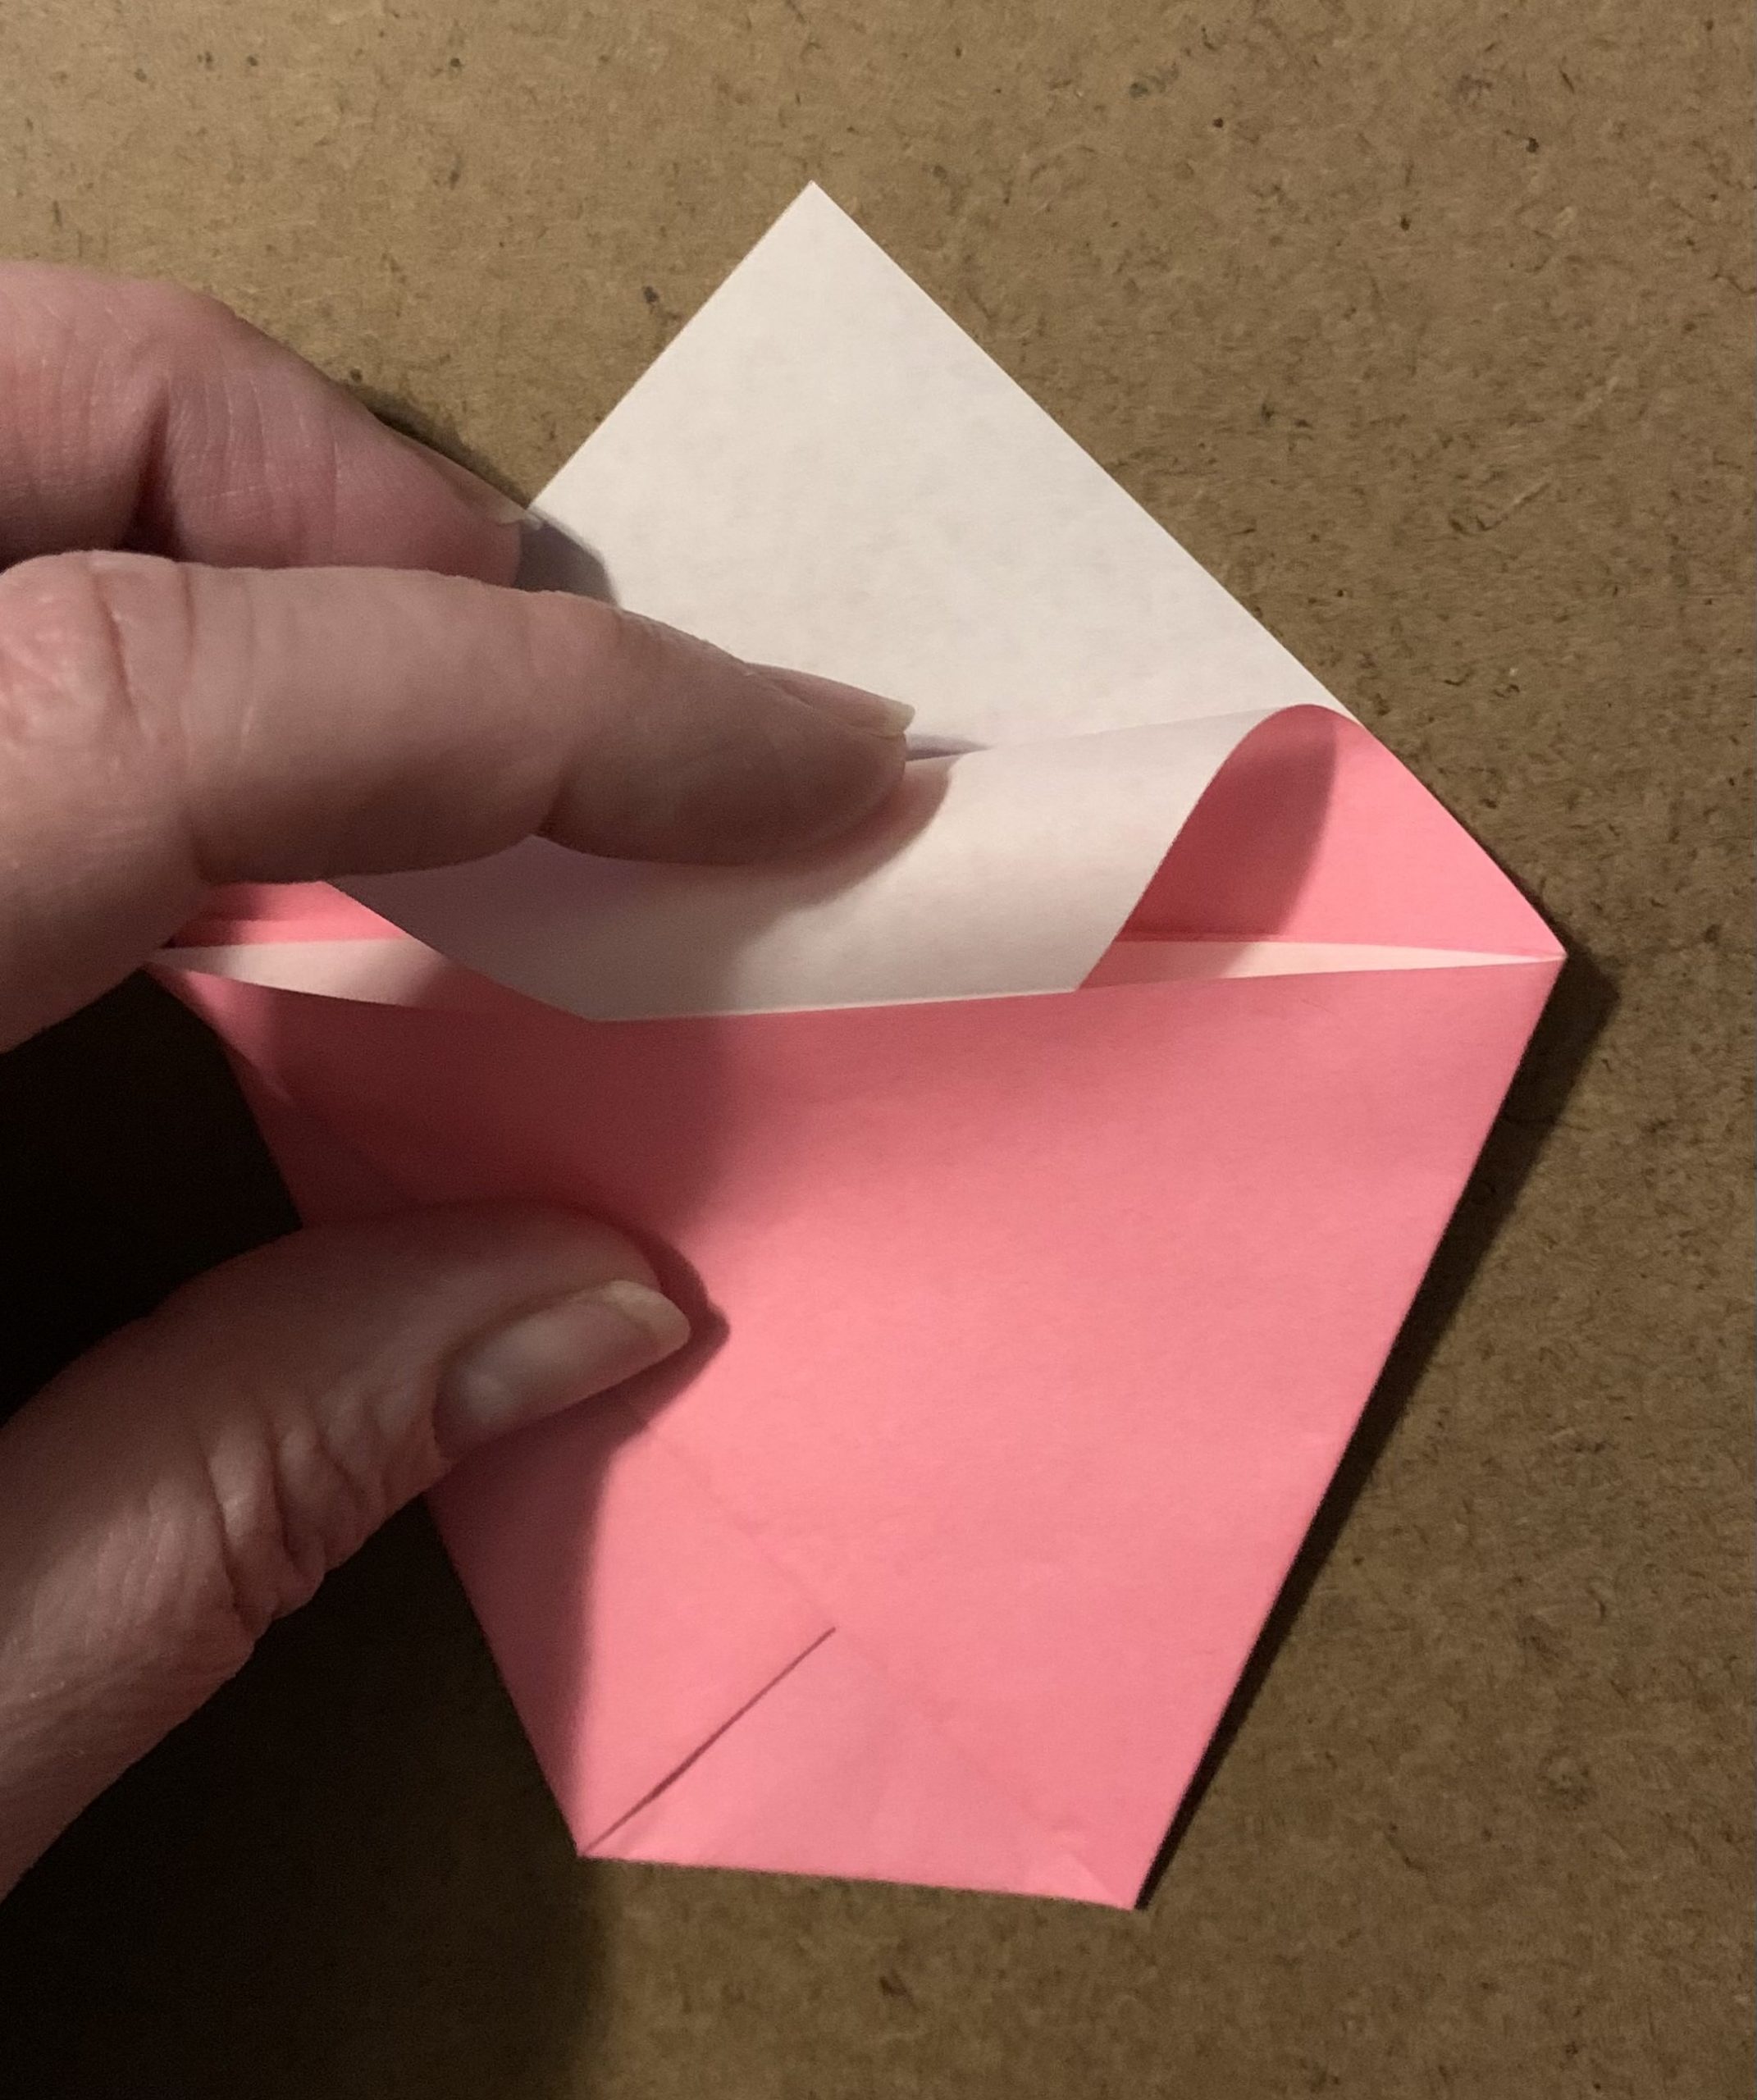
- Take the top layer of the top of the triangle at the top of the origami and fold and tuck it in between the layers of the fold you made in the previous step. Crease along the fold.
- Take the top of the remaining triangle at the top of the origami and fold it down along the top of the envelope body. Crease along the fold.
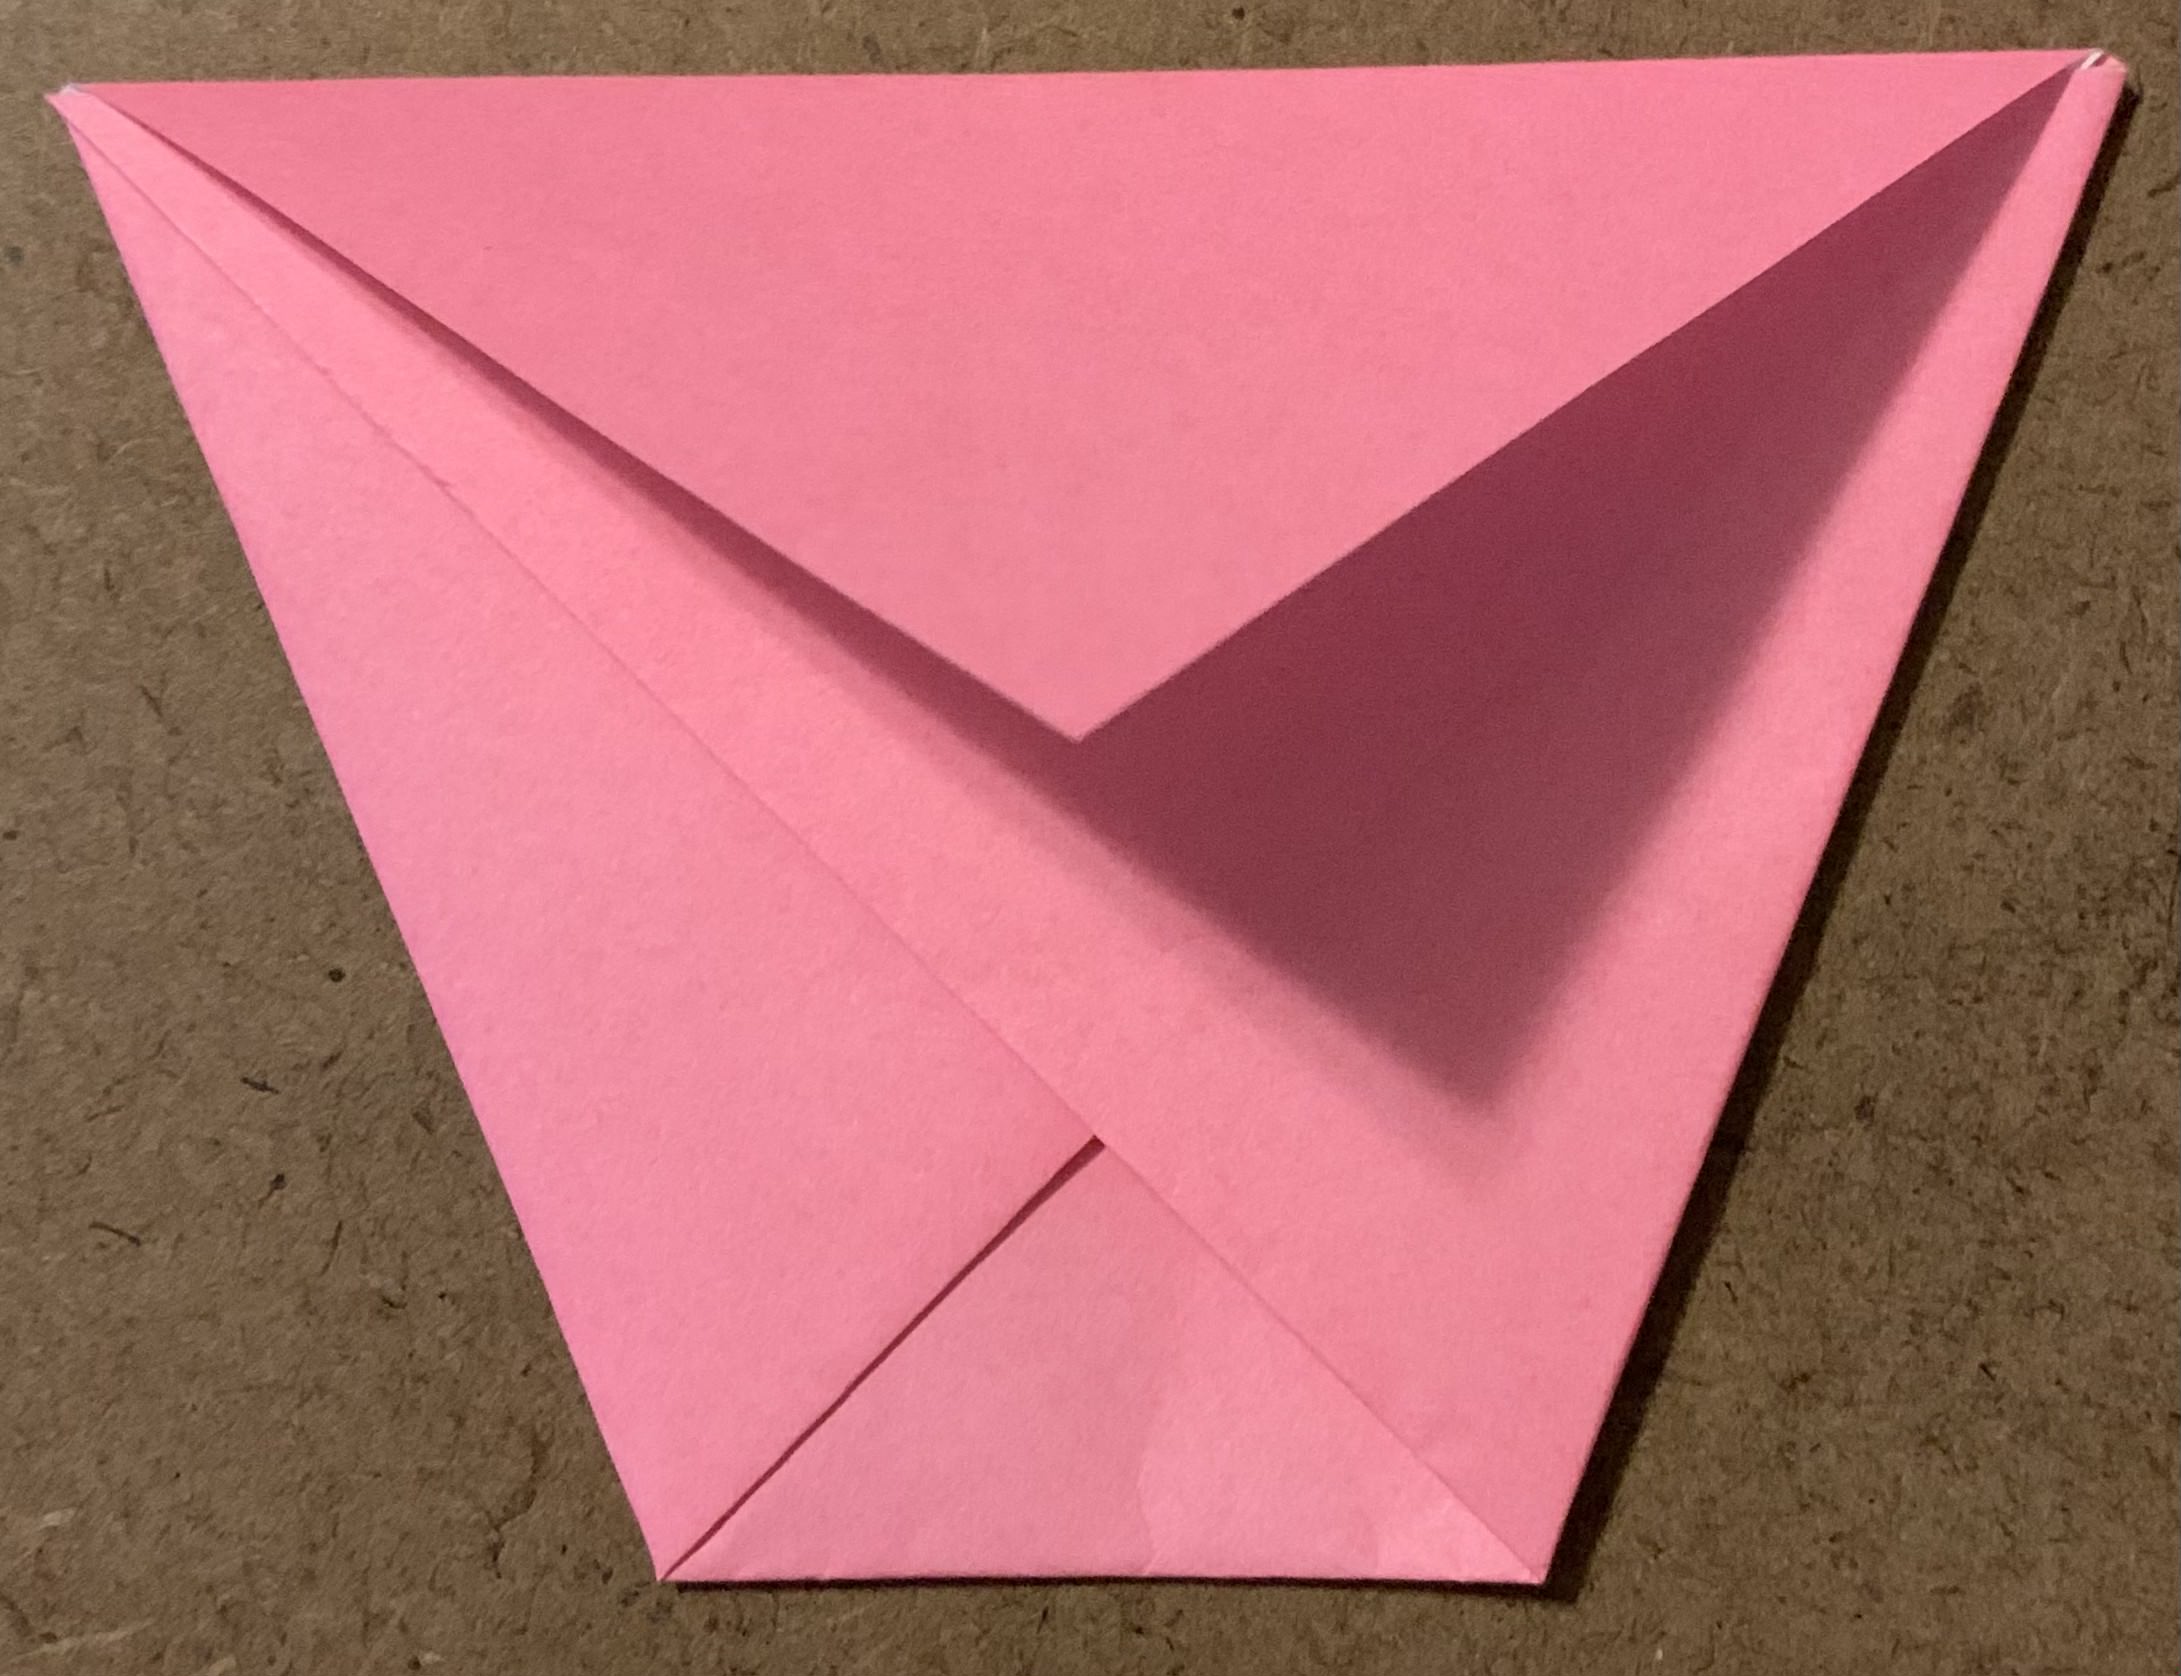
- From here, you can fill the envelope. Then, either tape the top flap down with clear or washi tape or tuck it in as you did with the other flap in step 7.
I hope you enjoyed this project! Let me know what you think. If you made this yourself, let me know so I can see the fabulous creation you made! Stay tuned for even more fun creations!